To remove the audio from a video, open it in a tool that can drop or mute the sound track, then save a new copy. The quickest free way is a browser tool: ChatCut’s remove audio from video tool deletes every audio track and gives you a silent MP4, without uploading the file. On an iPhone, the Photos editor has a mute button; on a Mac, QuickTime Player has Edit → Remove Audio; on Windows, Clipchamp can mute or detach the sound; and FFmpeg does it in one command.
We ran every method below on the same file: a 10-second, 1920 × 1080 MP4 of a woman walking past a red wall, with H.264 video and a street-ambience soundtrack (3.4 MB). The numbers in this guide come from that file, checked on November 18, 2026.
Key takeaways
- Muting the player isn’t enough. The file still contains its soundtrack until you export a copy without it.
- Fastest, any computer: a browser tool. Our clip became a silent 3.3 MB MP4 in under a second, with the video copied untouched.
- iPhone: Photos → Edit → tap the speaker icon. Mac: QuickTime Player → Edit → Remove Audio.
- Don’t expect a much smaller file. Audio is usually a small part of a video. Ours shrank by about 3.5%.
- Need only part of it silent? Use an editor (iMovie, Clipchamp, ChatCut) or FFmpeg’s
volumefilter with a time range.
Remove the track, or keep a silent one?
There are three different results people mean by “mute a video.” Here’s what each produced from our clip:
| Result | How we made it | Size | Use it when |
|---|---|---|---|
| No audio track | ChatCut browser tool, or FFmpeg -an | 3.3 MB | You’ll add new music or narration, or share a silent clip |
| Silent audio track | FFmpeg volume=0 | 3.3 MB | An app you use expects every video to have an audio track |
| Part of the clip muted | FFmpeg volume with a time range | 3.4 MB | One moment (a name, a noise, a song) has to go, the rest stays |
The first two look identical when you play them. The difference only matters to software that checks for an audio stream. If you aren’t sure, removing the track is the cleaner choice.
Method 1: Remove audio in your browser (any computer)
This is the route to use for a whole-clip mute when you don’t want to install anything or upload the recording. ChatCut’s free video muter runs in the browser tab and writes a new MP4 on your device.
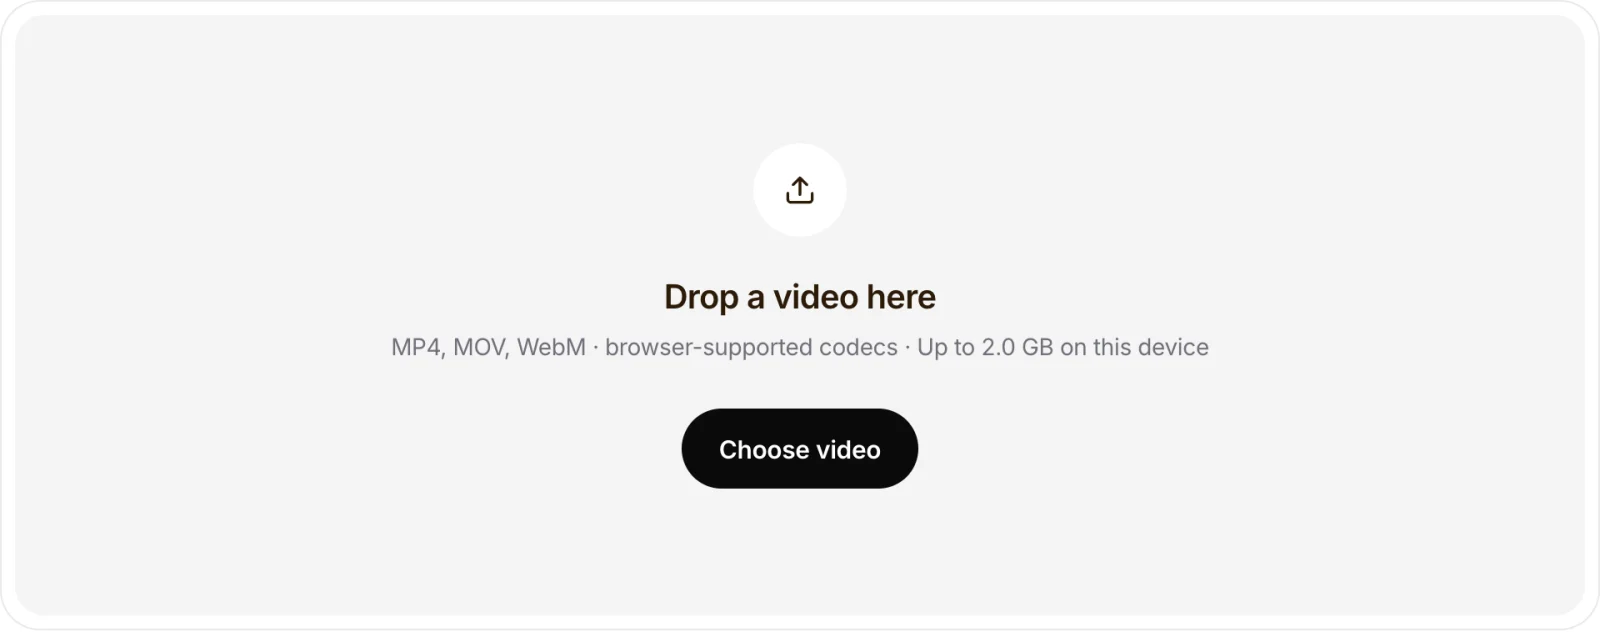
- Choose the video. Open the remove audio tool and drop in an MP4, MOV or WebM. On a computer it accepts files up to 2 GB.
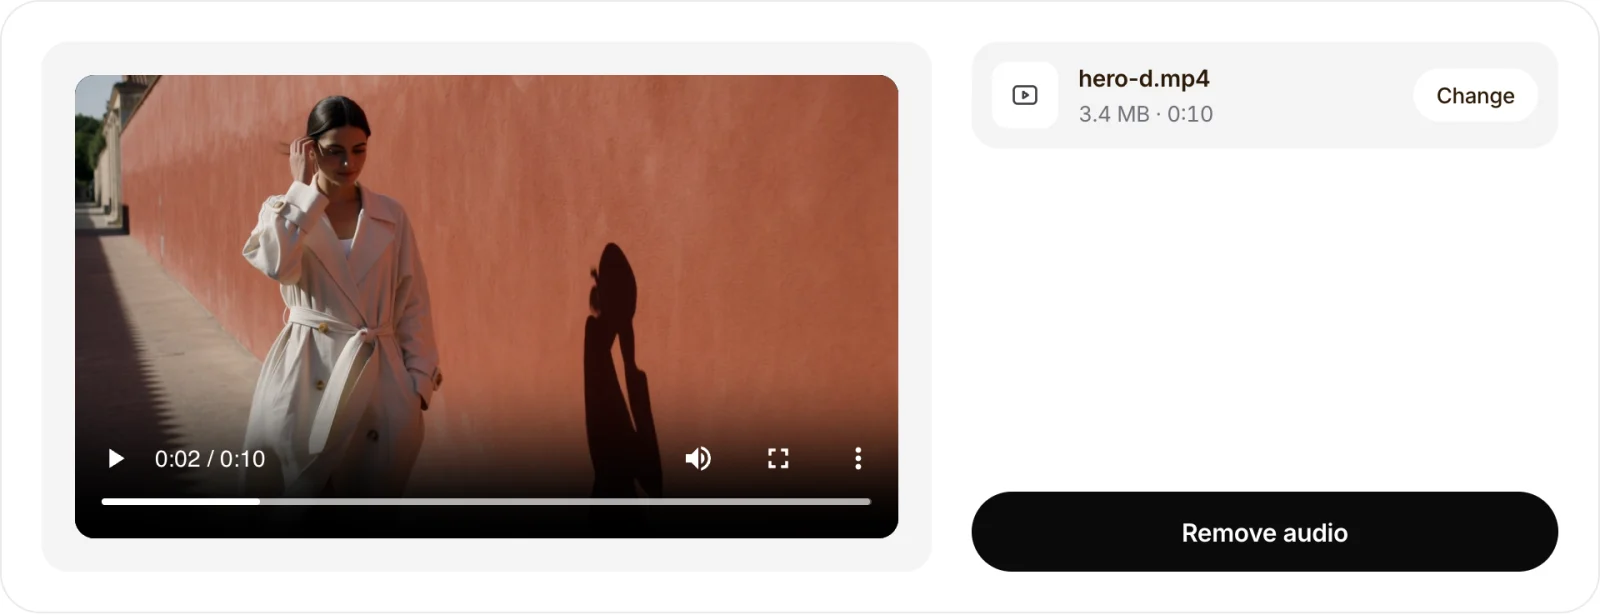
- Press Remove audio. There are no settings: the tool removes every audio track, including speech, music and background noise.
- Check and download. Play the preview to confirm the picture is there and the sound is gone, then save the file.
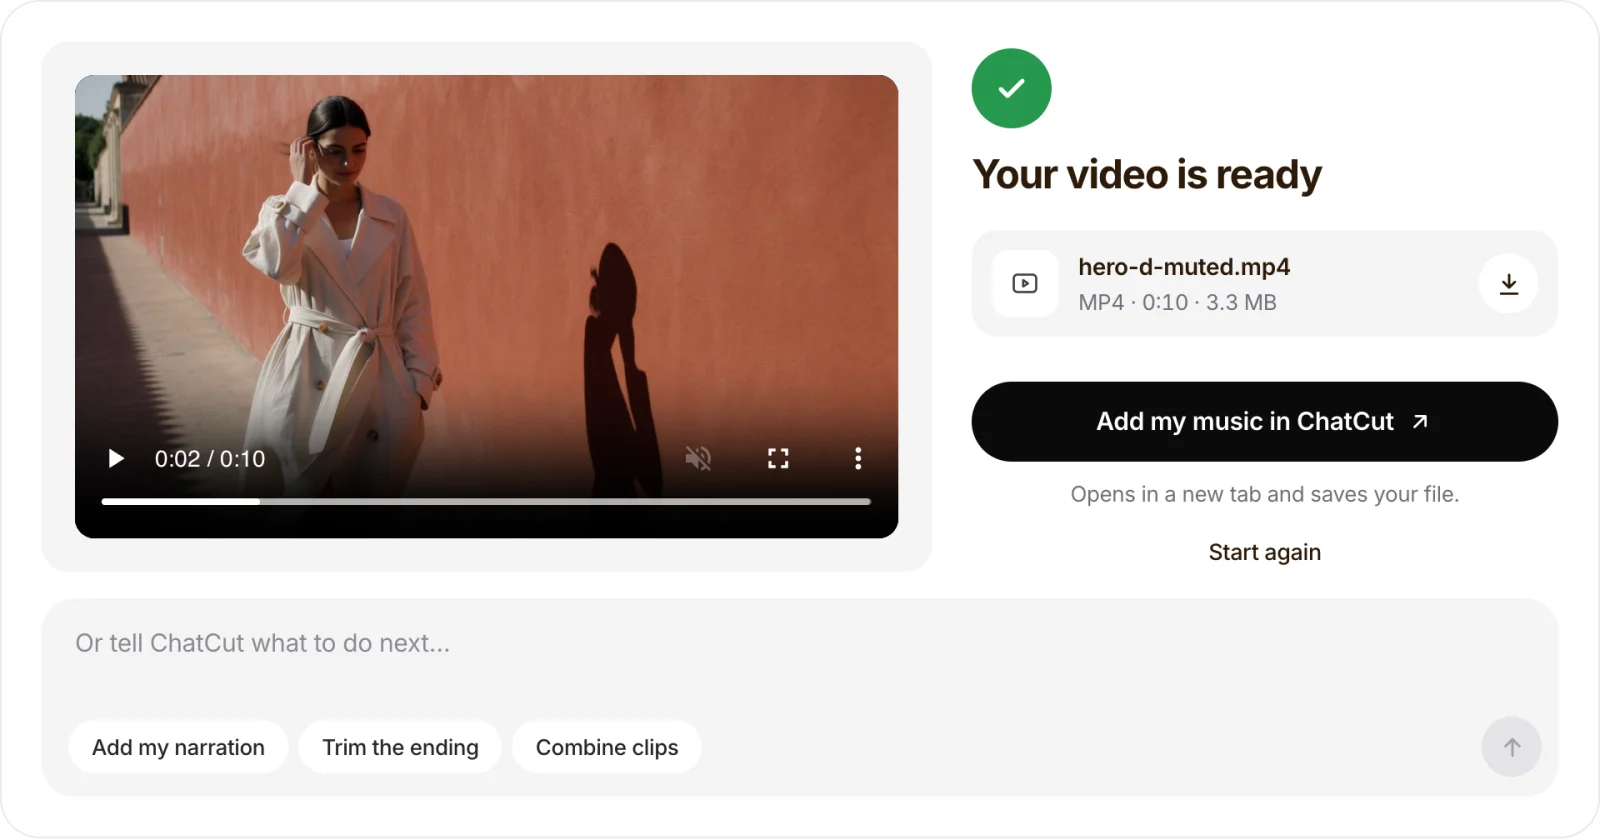
Because our clip was H.264, the tool copied the video stream without re-encoding it: we compared the video data of the original and the result with FFmpeg’s checksum and they matched exactly. When we tried an HEVC (H.265) MOV of the same clip, like the files many iPhones record, the tool converted the video to H.264 instead. That took about 6 seconds and gave a 3.6 MB file. Re-encoding can change the picture slightly, so keep the original.
Method 2: iPhone or iPad (Photos app)
The Photos editor can mute a video in place:
- Open the video in Photos and tap Edit.
- Tap the yellow speaker icon at the top left. It turns gray with a line through it.
- Tap Done.
To get the sound back later, open Edit again and tap the speaker, or use Revert, which also undoes other edits. These steps match How-To Geek’s walkthrough. Photos mutes the whole clip; to silence only part of it, use iMovie on the iPhone, or open the browser tool in Safari for a full-clip mute you can download as a separate file.
Method 3: QuickTime Player on a Mac (built in)
- Open the video in QuickTime Player.
- Choose Edit → Remove Audio.
- Save the file under a new name, so the original keeps its sound.
The result is a video-only file, as Apple’s QuickTime Player guide describes. If Remove Audio is grayed out, check that the file actually has a sound track and is open in QuickTime itself, not in Finder’s Quick Look preview.
Method 4: Clipchamp on Windows
- Add the video to the Clipchamp timeline and click it.
- Click the speaker icon on the left edge of the clip to mute it. Or open the Audio tab, choose Detach audio, then select the separated audio and delete it.
- Export the video. The exported file is silent.
To mute only a section, split the clip at the start and end of that section first and mute the middle piece. Steps from Microsoft’s Clipchamp guide.
Method 5: FFmpeg (one command, any system)
FFmpeg is the most precise option, especially for partial mutes. These are the exact commands we ran:
# Remove all audio, copy the video untouched: 3.3 MB, identical picture
ffmpeg -i input.mp4 -c copy -an silent.mp4

# Keep a silent audio track instead of none: 3.3 MB
ffmpeg -i input.mp4 -c:v copy -af "volume=0" -c:a aac silenttrack.mp4

# Mute only seconds 2 to 5: 3.4 MB
ffmpeg -i input.mp4 -c:v copy -af "volume=enable='between(t,2,5)':volume=0" -c:a aac partmute.mp4

# Replace the sound with your own audio file
ffmpeg -i silent.mp4 -i narration.mp3 -map 0:v -map 1:a -c:v copy -c:a aac replaced.mp4
-an drops the audio streams and -c copy copies the video without re-encoding. We measured the partial mute: the muted section peaked at −91 dB (silence), while seconds 6 to 9 still peaked at −25 dB. In the last command, -map picks the video from the first file and the audio from the second. Many guides add -shortest here; we found that it cut our 10-second video down to 2.2 seconds because the narration was shorter than the picture, so leave it out unless your audio is longer than the video. Filter details are in the FFmpeg documentation.
Check the file before you share it
These are the problems we’ve seen, and what to do about each:
- You can’t tell whether it worked. A muted player hides sound in the original too. Open the new file in a different player, or check its file info for an audio stream, rather than trusting the speaker icon.
- You’ll want the sound later. A silent copy can’t get its audio back. Save the soundtrack first with the video to MP3 converter, then remove it.
- You only wanted to remove the music, not the voice. Muting removes everything. Separating voice from music is a different job; ChatCut’s editor can isolate speech, or replace the background track entirely.
- The file is barely smaller. Our soundtrack was 96 kbps out of about 2.9 Mbps in total, so removing it saved about 3.5%. To make a video smaller, use the video compressor.
- The picture changed. That happens when the video was re-encoded, as with our HEVC test. Compare a few frames, especially scenes with motion. FFmpeg’s
-c copynever re-encodes; it just fails if the codec doesn’t fit the container.
What to do with the silent video next
- Add new sound. Put a track under it with add music to a video, or record new narration with the voiceover generator.
- Keep the original sound as a file. Extract it as MP3 or WAV; our guide on how to extract audio from a video covers that.
- Add on-screen words instead of sound. Silent clips on social feeds often need text; see add text to a video.