Share a window instead of the whole screen
Sharing one window or one tab keeps notifications, other apps and your desktop out of the video, and the picture stays the size of what you are showing. Close tabs and hide anything private before you start; the recording captures everything inside the shared area. On Windows, the browser asks you to pick between Chrome Tab, Window and Entire Screen; on a Mac, macOS may ask you once to allow your browser to record the screen in System Settings.
Get the sound right before the take
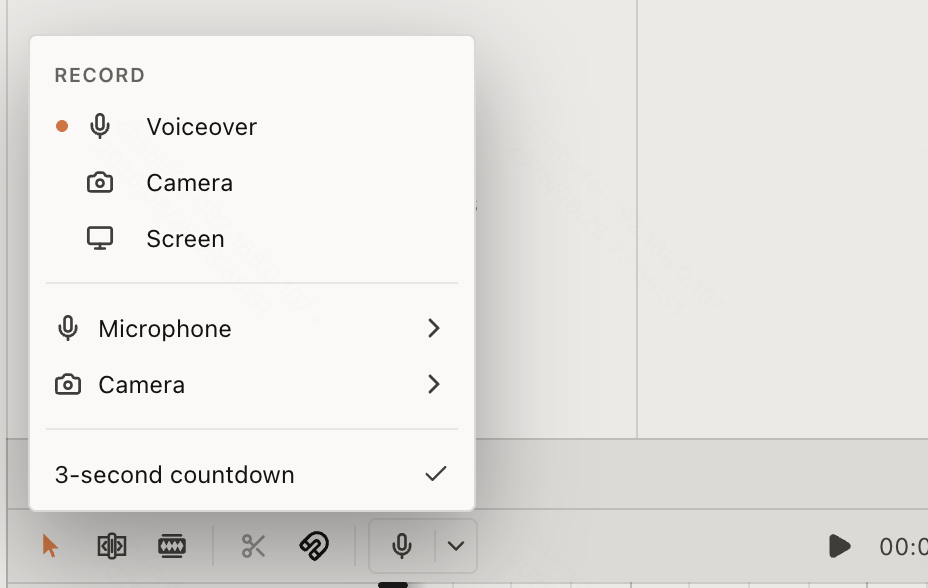
Turn on your microphone only if you plan to talk, and keep the computer's sound on only if the screen plays something that matters, such as a video or app alerts. In Chrome and Edge, a tab's sound is included when you share a tab and leave Share tab audio ticked; Windows can also share the sound of an entire screen. Firefox and Safari don't pass shared sound to web pages, so record your voice with the microphone option instead.
Keep it short and steady
Plan the steps, move the mouse slowly, and pause between actions so viewers can see what changed. Use Pause while you set up the next step instead of recording the waiting. Each take can run up to 30 minutes; for longer sessions, record a few shorter takes and join them later.
Turn the raw take into a finished demo
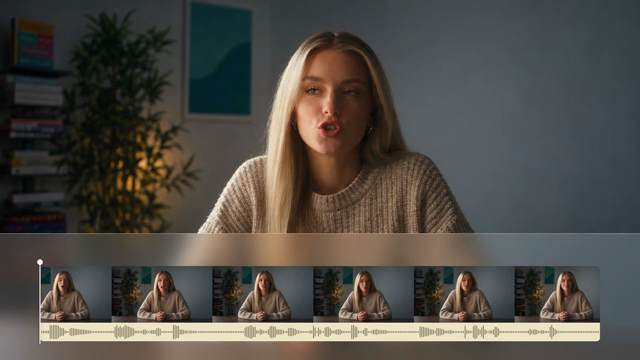
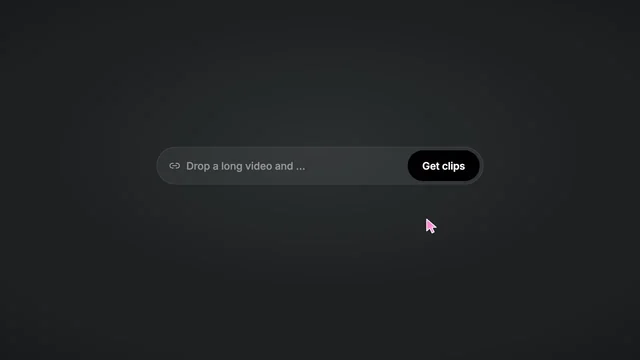
A raw screen recording usually needs trimming, captions and some zooms before it's ready to share. Open it in ChatCut and ask for those edits, or use the Auto Screen Recorder Skill in ChatCut Desktop to record and edit a product demo in one go.